PowerShell for Microsoft 365 enables Microsoft 365 server settings to be managed from command line. There are 2 versions of PowerShell module :
- AzureAD : Azure Active Directory PowerShell for Graph
- Msol : Microsoft Azure Active Directory Module for Windows PowerShell
What is the difference between AzureAD and Msol?
Msol : MSOnline module, with -Msol cmdlets, was the first Windows PowerShell Module for Active Directory. Microsoft refers to this module as version 1.0. MSOnline module provides certain functionality that is sitll not available with AzureAD module. Probably, MSOnline module will get deprecated when all the functionalities are made available with AzureAD.
AzureAD: Module is version 2.0. Microsoft recommends to use AzureAD module.
In this article, the steps to install both the Powershell modules are given.
Step 1 – Open Windows PowerShell in Administrator mode
Step 2 – Install AzureAD module in PowerShell
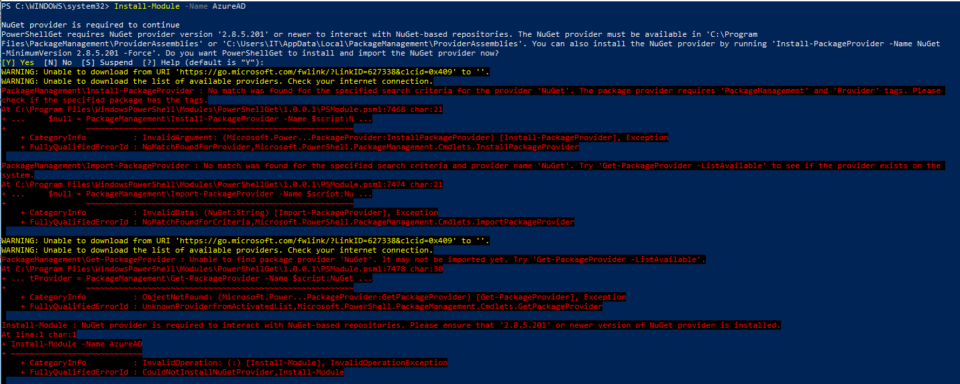
Use command : Install-Module-Name AzureAD
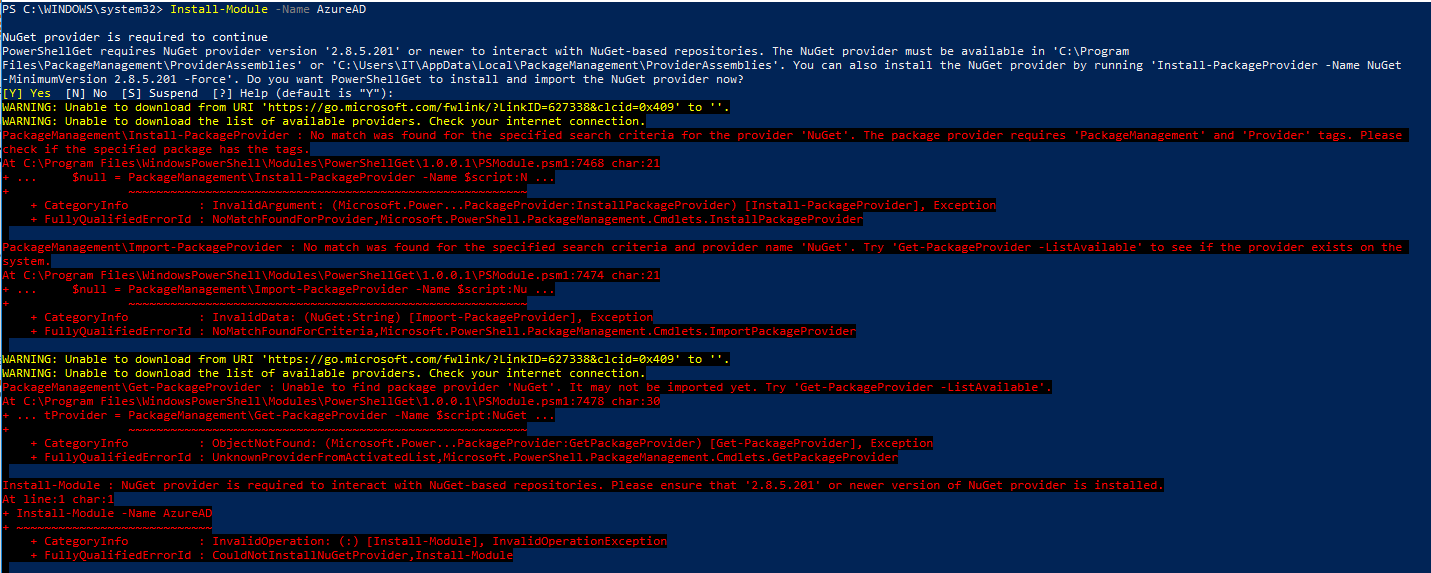
This is obvious that you encounter an error as “PackageManagement\Install-PackageProvider : No match was found for the specified search criteria for the provider ‘NuGet’. the package provider requires ‘PackageManagement’ and ‘Provider’ tagas. Please check if the specified packages has the tags.”
In order to resolve TLS issue, use command :
[Net.ServicePointManager]::SecurityProtocol = [Net.SecurityProtocolType]::Tls12
Then try to install AzureAD module, use command: Install-Module – Name AzureAD
when prompted to install modules from untrusted repository, press Y
Step 3 – Install MSOnline
Use Command: Install-Module MSOnline
when prompted to install modules from untrusted repository, press Y
Step 4 – Connect to Microsoft 365 using PowerShell
Use Command: $Credential = Get-Credential
In the Sign into your account dialog box, type your Microsoft 365 work or school account user name and password, and then select OK. If you’re using multi-factor authentication, follow the instructions to provide additional authentication information, such as a verification code.
After successful authentication, you can use the commands to connect to specific modules.
Connect-MsolService -Credential $Credential
Connect-AzureAD -Credential $Credential
Step 5 – Verify connection to Microsoft 365
In order to verify the AD connections are successful, you can use following commands
Get-MsolCompanyInformation //view tenant information
Connect-AzureAD -Credential $Credential //displays connecting account information
Must Read:
- PowerShell version 7 and later don’t support Msol cmdlets, in such case, use AzureAD cmdlets
- If you’re not running Windows 10, install the 64-bit version of the Microsoft Online Services Sign-in Assistant: Microsoft Online Services Sign-in Assistant for IT Professionals RTW.


